


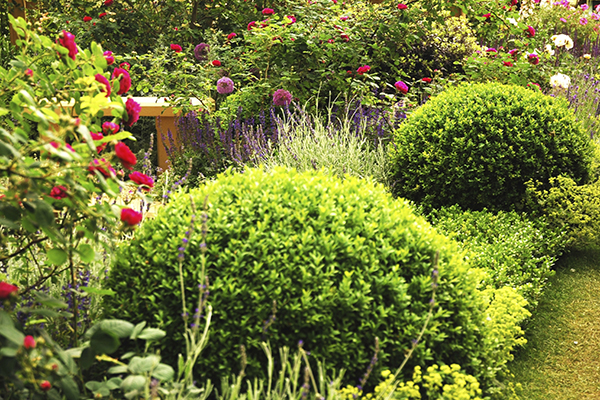
Buxus
Shadows are short in these spun out days, and the box balls out front which in winter threw elliptical shadows across the brick driveway now keep their shade shapes tucked in under their bulk, huddling and sheltering (it would seem) from the high overhead light.
In between, Molinia caerula variegata give a good contrast and I think that I would know exactly what month of year it was by simply observing these.
For all that, box hedging and topiary shapes will need clipping but do try to have it completed before the middle of July.
To do it later may result in the plants taking on a rather startling and unnatural ‘foxy’ colour, a condition which does not correct itself until new growth emerges.
Do not cut box of any description in bright sunlight for the cut leaf edges will ‘cook’ in the heat and make the plants unhealthy looking.
Wait for a cloudy day or begin late in the evening when conditions are much cooler.
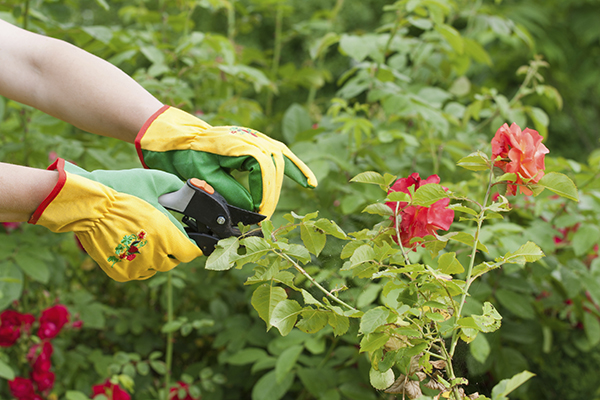
Perennial dead-heading
Remove the faded and spent flower heads from perennials such as lupins, achillea, and those showy, tall and stately delphiniums.
This important husbandry will primarily keep the plants tidy but it also increases the chances of further flushes of flowers in the weeks through August and later.
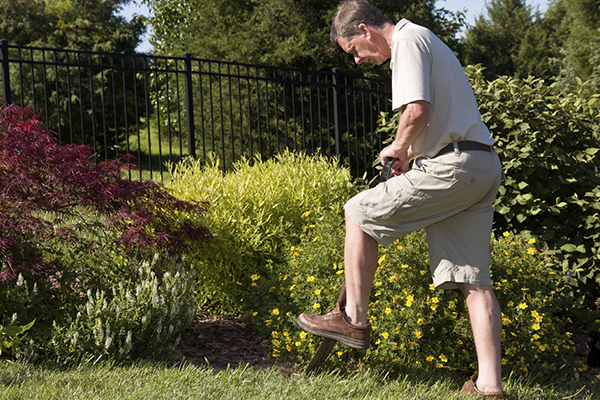
Re-positioning plants
The best time to dig up and move herbaceous plants is of course during late autumn through to spring but, if special care is taken, certain plants can be moved during the summer growing season without causing damage.
The operation should be performed only on plants with fibrous rather than fleshy roots and these include members of the daisy family, asters, rudbeckias and chrysanthemums.
Woody plants such as camellias, rhododendrons, pieris and most acid-loving shrubs can also be moved-with care of course.
Water heavily the plants in question the night before being moved. Dig the next day, but try to leave as much of the root-ball intact as is possible.
The plant should not be exposed to the drying effects of sun or wind so keep covered with wetted newspapers or old sacking.
The new hole should be one-and-a-half times as deep and wide as the plant’s root-ball.
Partially refill the hole with fresh compost or soil and place the plant so that it sits snugly just below the surrounding soil level.
Replace most of the excavated soil and pour a bucket of water into the hole. As the water subsides, the remaining soil can be forked back into place.
See More: Buxus, Featured, Herbaceous, Perennial, Plants
